
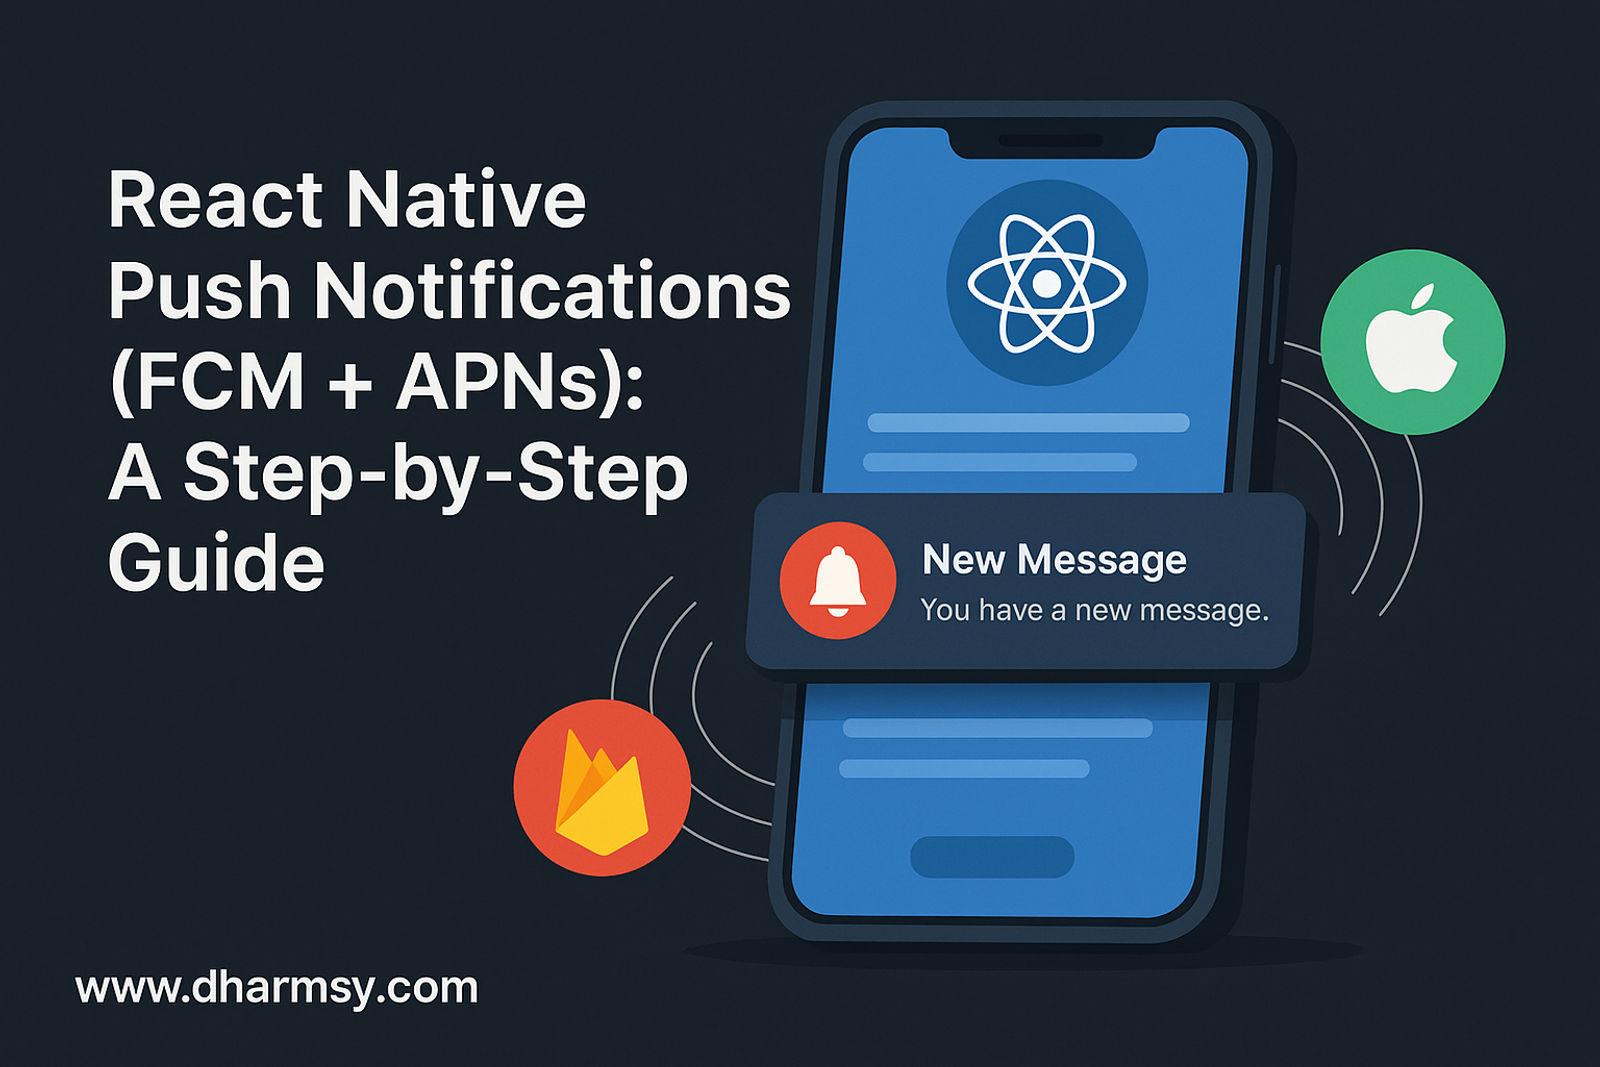
Push notifications are one of the best ways to re-engage users, increase retention, and drive conversions. In React Native, the most reliable production stack is Firebase Cloud Messaging (FCM) for delivery and Apple Push Notification service (APNs) for iOS.
This guide walks you through a clean, modern setup that works on both Android and iOS, including foreground/background handling, deep links, and common pitfalls.
What you’ll build
- Request notification permission (iOS + Android)
- Get a device FCM token
- Receive messages in foreground, background, and quit states
- Show rich notifications (channels on Android)
- Navigate the user when they tap a notification
- Send test pushes from a Node.js script (and Firebase Console)
Prerequisites (checklist)
- React Native 0.73+ (newer is fine)
- A Firebase project
- Apple Developer account (for APNs key)
- Xcode for iOS, Android Studio/SDK for Android
- Packages we’ll use:
- @react-native-firebase/app
- @react-native-firebase/messaging
- @notifee/react-native (optional but recommended for rich local UI & channels)
Why Notifee? FCM delivers data; Notifee lets you display beautiful local notifications and control channels on Android.
1) Install packages
# React Native Firebase core + messaging
yarn add @react-native-firebase/app @react-native-firebase/messaging
# Or: npm i @react-native-firebase/app @react-native-firebase/messaging
# Optional (strongly recommended) for local display + channels
yarn add @notifee/react-native
# Then install pods
cd ios && pod install && cd ..
2) Configure Firebase (Android)
- In the Firebase console, Add app → Android.
- Enter your Android package name (e.g., com.dharmsy.app).
- Download google-services.json and place it at:
android/app/google-services.json
- In android/build.gradle (Project), ensure the Google services classpath is present:
buildscript {
dependencies {
classpath("com.google.gms:google-services:YOUR_VERSION")
}
}
- In android/app/build.gradle (App), apply the plugin at the bottom:
apply plugin: "com.google.gms.google-services"
- Create a default notification channel (Android 8+). We’ll do it in code with Notifee (see step 6).
3) Configure Firebase + APNs (iOS)
- In the Firebase console, Add app → iOS and download GoogleService-Info.plist. Add it to ios/YourApp/ via Xcode (checked for “Copy items if needed”).
- In your Apple Developer account → Keys → create an APNs Auth Key. Download the .p8 key and note Key ID and Team ID.
- In Firebase → Project Settings → Cloud Messaging → Apple section → upload the .p8 key (token-based) and fill the Key ID + Team ID.
- In Xcode, select your target → Signing & Capabilities → add:
- Push Notifications
- Background Modes → check Remote notifications
- cd ios && pod install again if needed.
4) Request permission + get FCM token
Create a small hook or put this logic in your app root.
// App.tsx
import React, { useEffect } from "react";
import { Platform, Alert } from "react-native";
import messaging from "@react-native-firebase/messaging";
import notifee, { AuthorizationStatus } from "@notifee/react-native";
async function requestUserPermission() {
// iOS permission for notifications
const authStatus = await messaging().requestPermission();
const enabled =
authStatus === AuthorizationStatus.AUTHORIZED ||
authStatus === AuthorizationStatus.PROVISIONAL;
if (enabled) {
console.log("Notification permissions enabled.");
} else {
Alert.alert("Notifications are disabled", "You can enable them in Settings.");
}
// Android: create default channel once
if (Platform.OS === "android") {
await notifee.createChannel({
id: "default",
name: "Default",
importance: 4, // Notifee.AndroidImportance.HIGH
});
}
}
async function getFcmToken() {
const token = await messaging().getToken();
console.log("FCM TOKEN:", token);
// TODO: send token to your backend to map user<->device
}
export default function App() {
useEffect(() => {
requestUserPermission().then(getFcmToken);
// Refresh token listener
const unsubToken = messaging().onTokenRefresh((token) => {
console.log("FCM token refreshed:", token);
// send to backend again
});
return () => unsubToken();
}, []);
return /* your app root */;
}
5) Handle messages in all app states
Background / Quit: register a background handler in index.js (or index.ts).
// index.js
import 'react-native-gesture-handler';
import { AppRegistry } from 'react-native';
import App from './App';
import messaging from '@react-native-firebase/messaging';
messaging().setBackgroundMessageHandler(async (remoteMessage) => {
console.log('Message handled in the background!', remoteMessage);
// Optionally display a local notification
// await notifee.displayNotification({...})
});
AppRegistry.registerComponent('YourApp', () => App);
Foreground: show a local notification when a data message arrives.
// App.tsx (inside useEffect)
const unsubForeground = messaging().onMessage(async (remoteMessage) => {
console.log("Foreground message:", remoteMessage);
await notifee.displayNotification({
title: remoteMessage.notification?.title || "New message",
body: remoteMessage.notification?.body || "Open the app to view",
android: { channelId: "default", smallIcon: "ic_stat_name" },
data: remoteMessage.data, // useful for deep linking
});
});
return () => unsubForeground();
Note: If you use “notification” messages from Firebase Console, Android will auto-display; iOS shows only when app is backgrounded. Using data messages + Notifee gives you full control.
6) Navigate when a notification is tapped (deep links)
import { NavigationContainer, useNavigation } from "@react-navigation/native";
import messaging from "@react-native-firebase/messaging";
import notifee, { EventType } from "@notifee/react-native";
function useNotificationNavigation() {
const navigation = useNavigation();
useEffect(() => {
// App in background → user taps notification
const unsubOpened = messaging().onNotificationOpenedApp((remoteMessage) => {
const postId = remoteMessage?.data?.postId;
if (postId) navigation.navigate("Post", { id: postId });
});
// App was quit → opened from notification
messaging()
.getInitialNotification()
.then((remoteMessage) => {
const postId = remoteMessage?.data?.postId;
if (postId) navigation.navigate("Post", { id: postId });
});
// Foreground Notifee tap
const unsubNotifee = notifee.onForegroundEvent(({ type, detail }) => {
if (type === EventType.PRESS) {
const postId = detail.notification?.data?.postId;
if (postId) navigation.navigate("Post", { id: postId });
}
});
return () => {
unsubOpened();
unsubNotifee();
};
}, [navigation]);
}
Call useNotificationNavigation() inside a screen wrapped by your NavigationContainer.
7) Send a test push (Firebase Console)
- Go to Firebase → Cloud Messaging → Send your first message
- Add title/body
- Target: your app
- Test on device: paste your FCM token and send
8) Send a test push from Node.js (server)
Create a small script using firebase-admin:
npm i firebase-admin
// send.js
import admin from "firebase-admin";
import serviceAccount from "./service-account.json" assert { type: "json" };
admin.initializeApp({
credential: admin.credential.cert(serviceAccount),
});
const fcmToken = "DEVICE_TOKEN_HERE";
const message = {
token: fcmToken,
notification: {
title: "Hello from DharmSy",
body: "This is a test push 🚀",
},
data: {
postId: "123", // for deep-link navigation
},
android: { priority: "high" },
apns: {
payload: {
aps: { contentAvailable: true, sound: "default" },
},
},
};
admin
.messaging()
.send(message)
.then((id) => console.log("Sent:", id))
.catch(console.error);
Note:-service-account.json is a Firebase Admin key (download from Project Settings → Service accounts).
9) Production notes & best practices
- Store tokens in your backend (user ↔ device mapping). Invalidate or update on refresh/logout.
- Topics: Use FCM topics for broadcast (“news”, “promotions”).
- Collapse keys: Avoid notification floods; use collapse keys to replace older messages.
- Battery & privacy: Keep data payloads small; don’t include sensitive info.
- Icons: Provide a proper ic_notification (monochrome) for Android status bar.
- iOS test devices: Real devices only (simulator doesn’t receive APNs).
- Release builds: Always test push on signed builds; Debug vs Release behavior can differ.
- Rate limits: FCM has quotas; queue on server side when needed.
10) Troubleshooting checklist
- Token is null on iOS → Ensure Push + Background modes enabled; APNs key uploaded to Firebase; signed build.
- No foreground notifications → When app is open, use Notifee (data message + local display).
- Android shows blank icon → Provide proper mipmap/ic_notification.png.
- Nothing arrives → Check device is online; ensure you’re sending to correct token; inspect FCM response; look at device logs:
- Android: adb logcat | grep FirebaseMessaging
- iOS: Xcode console
- CORS/HTTP errors from server → If you call FCM from your server, verify service account permissions and endpoint.